Week 1 of SOK 2025
What I am working on?
My project focuses on enhancing the GUI and adding Player vs. Player (PvP) multiplayer functionality to a Mancala game.
Mancala is a popular board game played worldwide. The proposed plan is to use Kirigami for improving the GUI and making the application cross-platform. Multiplayer functionality will be integrated using XMPP. The game will operate over a communication channel established by XMPP over UDP. The updated game board will be reflected graphically using data binding. The XMPP server being used is Prosody.
Work done so far
Setting up the prosody locally
Setting up Prosody is fairly straightforward. I installed it from Fedora’s official repository using the command:
sudo dnf install prosody
Alternatively, Prosody can be built and installed from its source code available on GitHub.
Configuring prosody
Prosody’s configuration is contained in a single file: prosody.cfg.lua. On Linux distributions, this file is typically located at /etc/prosody/prosody.cfg.lua..
For now the clients are connected over same LAN using the virtual host @mancala.local as the domain id.

The image above illustrates how to edit your virtual host configuration.
The next step is to configure a chat room, which is done similarly to the virtual host configuration.

Both configurations require an SSL certificate to secure the communication channel.
After completing these steps, we restart and check the status of Prosody using the following commands:
sudo systemctl restart prosody
sudo systemctl status prosody
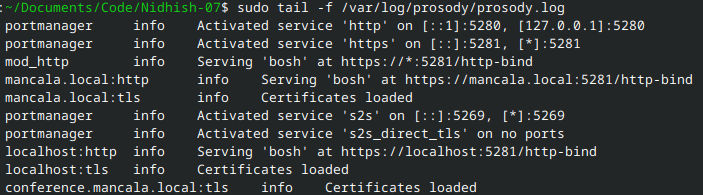
If everything is configured correctly, the state will be “active.” You can verify this by checking the log file using: sudo tail -f /var/log/prosody/prosody.log we can check the log file. If configured successfully, the output will resemble this:
Adding users and communicating via a XMPP client
The plan is to allow users to either use their existing Jabber ID or create a new one through our server. For testing purposes, I manually added users to the server using the following command:
sudo prosodyctl adduser <username@domain_name>
After executing the command, you will be prompted to set a password for the user.
For communication, I used the Pidgin client.
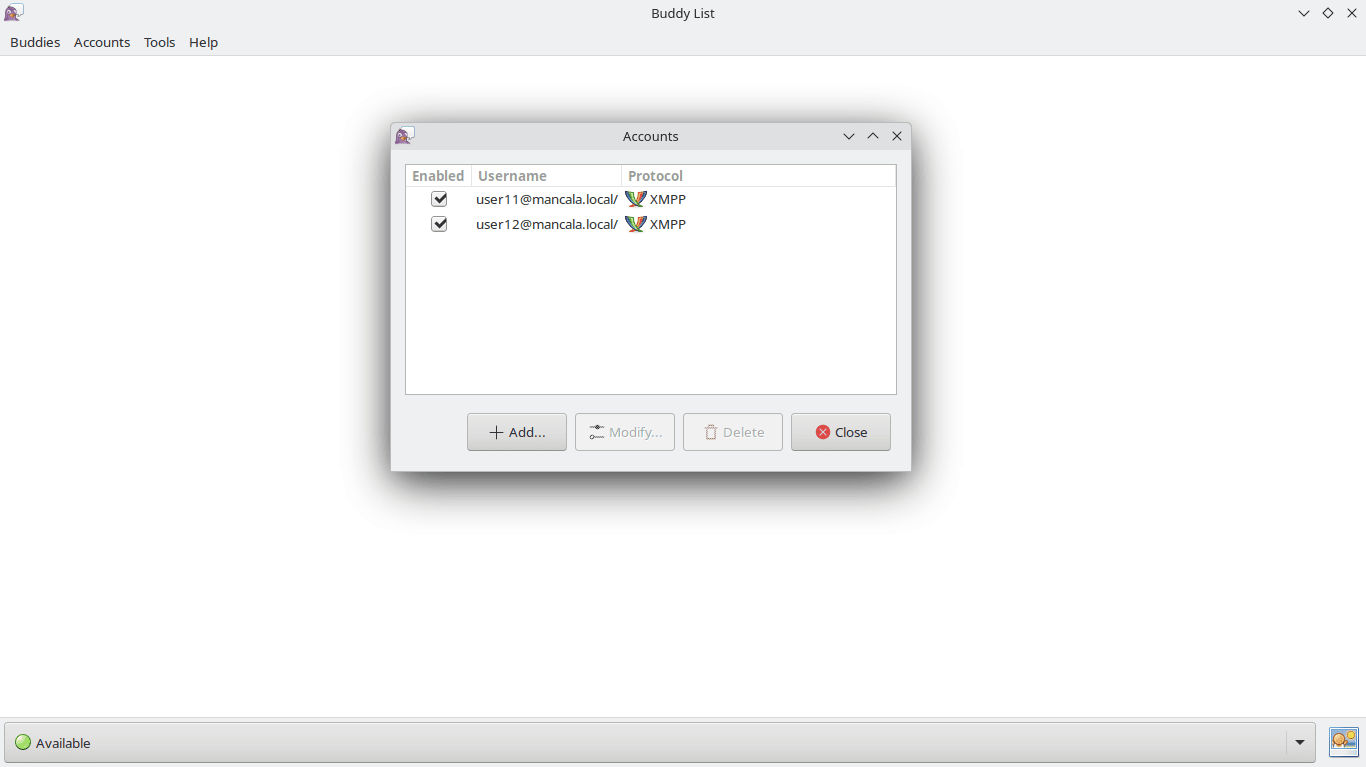
As shown in the image above, I have added two users, user11 and user12.
To test communication, I sent a message from user11 to user12 by addressing it to user12@mancala.local. Below are the results:
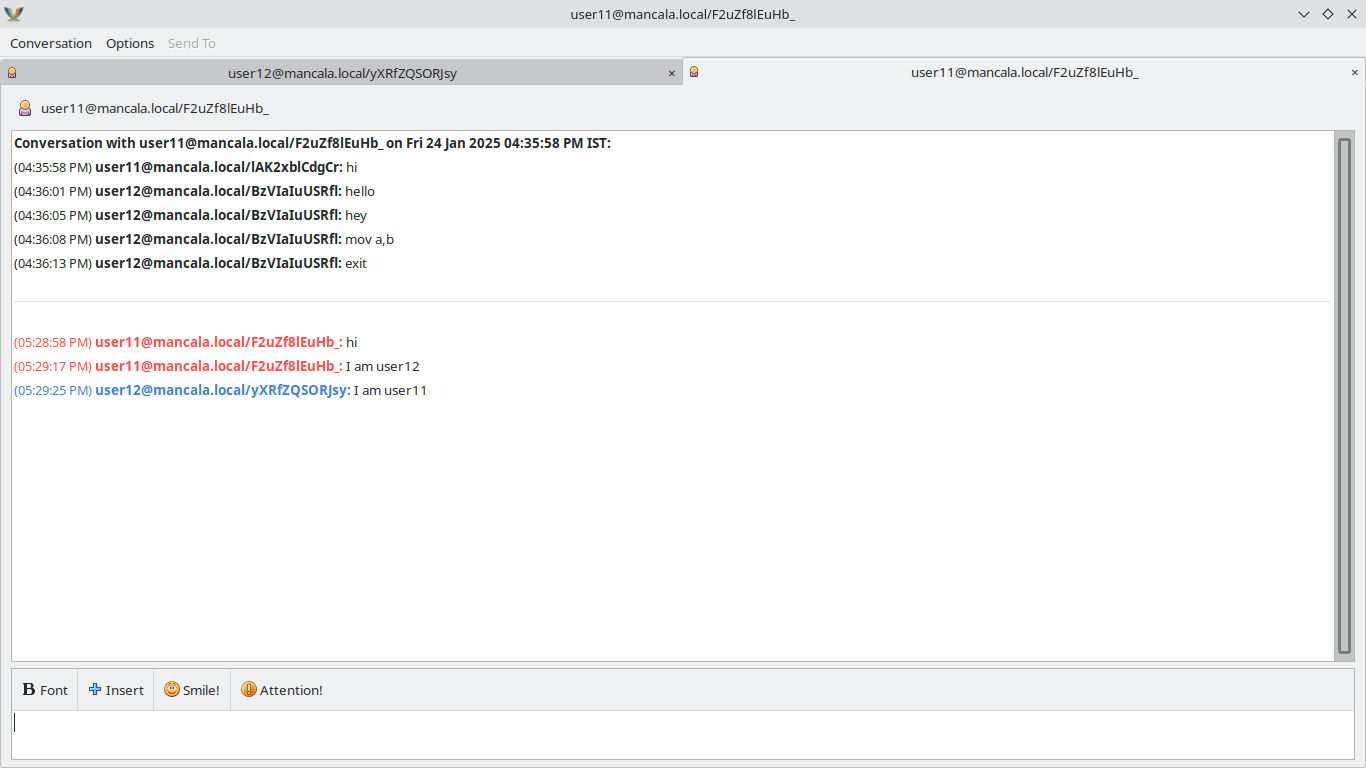
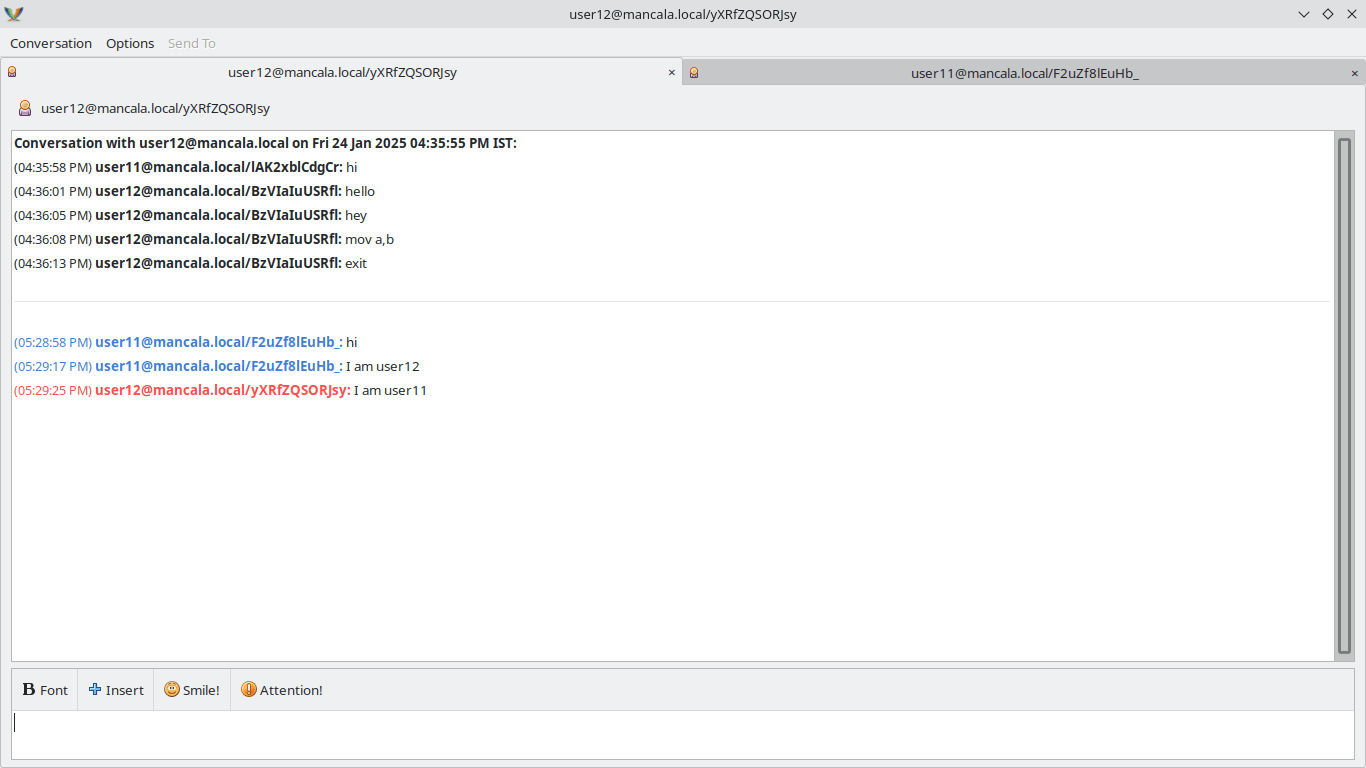
Since I used the Pidgin client on the same device, both user tabs appear in the interface. The screenshots confirm that I successfully established a user-to-user communication channel over LAN.
What’s next
For the next week, I plan to:
- Implement in-band registration.
- Enable communication over the internet.
- Develop the logic for the game invitation system.